Pressure-treated lumber is a popular choice for outdoor projects like decks, fences, and pergolas due to its. While its natural greenish hue may offer a rustic appeal, many homeowners and contractors prefer to stain pressure-treated wood for aesthetic reasons or added protection. However, staining this type of wood isn’t as straightforward as untreated wood. Timing, preparation, and product choice are critical to achieving long-lasting results.
What Is Pressure-Treated Lumber?
Pressure-treated lumber is wood that has been infused with chemical preservatives under high pressure to protect it from decay and insect damage. This treatment extends the wood’s lifespan, making it suitable for outdoor applications. However, the chemical process also impacts how stains and sealants are absorbed.
Why Stain Pressure Treated Wood?
Although pressure-treated wood is durable on its own, staining adds several benefits:
- Enhanced appearance: Stains can enhance the natural grain or change the color to match your desired style.
- UV protection: Stains with UV blockers help prevent the wood from graying over time.
- Water resistance: Stains with sealing properties help repel water and reduce cracking or warping.
- Extended lifespan: While the wood is already treated, staining adds an extra layer of defense.
When Can You Stain Pressure Treated Wood?
One of the most critical aspects of staining pressure-treated wood is timing. Freshly treated lumber is often saturated with preservatives and moisture, which can prevent stains from properly soaking in.
General Rule: Wait 3 to 6 Months
- The wood should be dry to the touch and feel lighter in weight before staining.
- To test moisture, sprinkle a few drops of water on the surface. If the water beads up, wait longer. If it soaks in, it’s ready.
How to Stain Pressure Treated Lumber
Here’s a step-by-step guide to staining pressure-treated lumber:
1. Clean the Wood
Even if the wood is new, clean it to remove dirt, mold, or chemical residue. Use a wood cleaner or a mixture of mild detergent and water. For older wood, a power wash may be helpful, but use caution to avoid damaging the surface.
2. Let It Dry
Allow the wood to dry thoroughly—typically 24 to 48 hours after cleaning, depending on weather conditions.
3. Choose the Right Stain
Use a stain specifically formulated for exterior use and pressure-treated wood. You can choose between:
- Transparent stains: Show the most wood grain, offer minimal protection.
- Semi-transparent stains: Balance between grain visibility and durability.
- Solid stains: Offer the most protection, but cover the grain almost entirely.
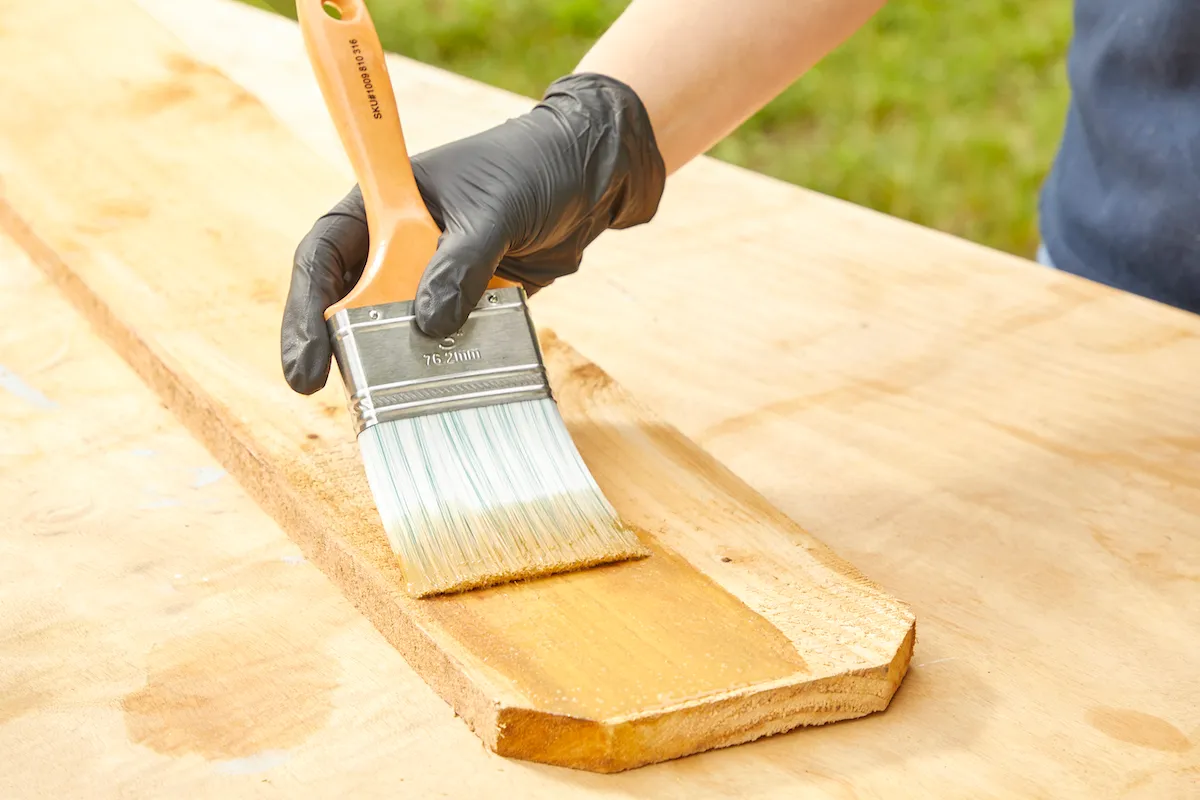
4. Apply the Stain
Use a brush, roller, or sprayer. Apply in the direction of the wood grain. Avoid over-applying, and work in small sections to maintain an even coat.
5. Let It Cure
Allow the stain to dry completely according to the manufacturer’s instructions. This usually takes 24 to 48 hours, depending on the weather and humidity.
Maintenance Tips
- Inspect annually: Look for signs of wear, graying, or peeling.
- Re-stain every 2–3 years: Depending on exposure and stain type.
- Keep it clean: Remove dirt, debris, and mildew regularly to maintain appearance and longevity.
Final Thoughts
Staining pressure-treated lumber enhances its appearance and extends its durability. The key is patience—waiting for the wood to dry adequately, combined with good preparation and the right product. With proper care, your stained pressure-treated wood project will stay beautiful and strong for years to come.